
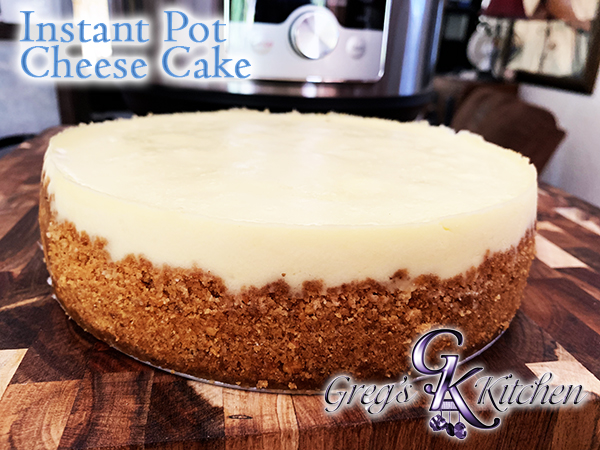
Cheesecake is one of the most amazing, delicious and decadent desserts. Most people think that they are extremely hard to make. In actuality they are not any harder than most other desserts/cakes.
Most of you know I have several different cheesecakes on my site. Everything from my NYC Cheesecake to my Smoked Cheesecake, but this new recipe for a Instant Pot® cheesecake has got to be the easiest one I’ve ever done. Plus, since there are only two of us here, the smaller size is perfect. Not that Michael won’t eat an entire cheesecake on his own. So if you are looking for a smaller version plus quicker prep/cook time this is for you.
Now I went straight plain cheese cake with this one but I will be changing it up soon with maybe a turtle or raspberry swirl version. I hope you all enjoy this wonderful decadent dessert.
*I have an 8 qt Instant Pot® and used a Fat Daddios 8 Inch Cheesecake pan.
Crust:
- 1 1/2 cups graham cracker crumbs
- 3 tablespoons light brown sugar
- pinch of salt
- 4 tablespoons melted butter.
Filling:
- 3 8 oz bricks of cream cheese
- 3 large eggs
- 1 egg yolk
- 1 cup sugar
- 3/4 cup sour cream
- 1 teaspoon lemon juice
- 3 tablespoons cornstarch
- 2 teaspoons vanilla
- pinch or two of salt
Directions:
-
- First you need to put your cream cheese, sour cream and eggs out on counter to come to room temperature.
- Make crust by combining the graham cracker crumbs, brown sugar and salt in small bowl.
- Melt the butter and add to the cracker crumb mixture. Mix with a fork until it looks like wet sand.
- Prepare pan. I put pre cut parchment paper in bottom of pan. Now add the crumb mixture to pan.
- Use the bottom of a glass or measuring cup to flatten into bottom of pan. I pushed it up the side as well on this one.
- Place in refrigerator or freezer to stiffen up the butter and make crust a bit crunchier. You can also bake it for 8 minutes at 350 for crunchier crust too. If you do bake it, let it come to room temperature before adding filling.
- After the cream cheese, sour cream and eggs have come to room temperature, place the cream cheese in mixer bowl and mix on low till lightly creamed.
- While it is creaming, combine the sugar, cornstarch and salt in small bowl.
- Scrape down sides of bowl and add the sugar mixture slowly. Continue to mix on low for 2-3 minutes
- Scrape down sides of bowl and mix in the sour cream, lemon juice and vanilla. Mix for another 2-3 minutes on low.
- Scrape down sides of bowl and add the eggs one at a time on low until just combined. DO NOT over mix. Stop as soon as they are mixed in.
- Pour the filling into the prepared graham cracker crust.
- Carefully tap the pan on counter to bring air bubbles to the top and if they don’t pop, use a toothpick to pop.
- Put 1 cup water into instant pot, put in the trivet and then place the cheese cake into cooker.
- Lock on lid and cook on “pressure cook – high” for 30 minutes. Then let pressure decrease naturally.
- Carefully remove lid without shaking or tipping. Keep the water from the lid from dripping on cheesecake.
- Carefully remove cheesecake and with a paper towel, gently tap top of cheesecake to remove any water from the steam inside the pressure cooker.
- Let come to room temperature and then put in refrigerator for at least 4 hours.
- Cut, top if you like with your favorite topping and ENJOY.
Here is a link to my Instant Pot Favorites on Amazon.
![]()


Hi, Found your blog from the FB Instant Pot group. I was wondering if you have any tips on scaling down for a 6 qt.? I have not yet made cheesecake in my magic pot. I am keen to see your raspberry swirl recipe!!!
Look forward to all your upcoming Instant Pot adventures.
Cheers,
Anne
You could use one less egg and block of cream cheese. Reduce the sugar to 2/3 cup, sour cream to 1/1 cup, and 2 tablespoons cornstarch and 1 teaspoons vanilla. Of course on the vanilla, I always use a bit extra so 2 wouldn’t be bad. I used this recipe version before I got the 8″ pan and used a 6″. I hope you enjoy. Let me know how it turns out. Greg