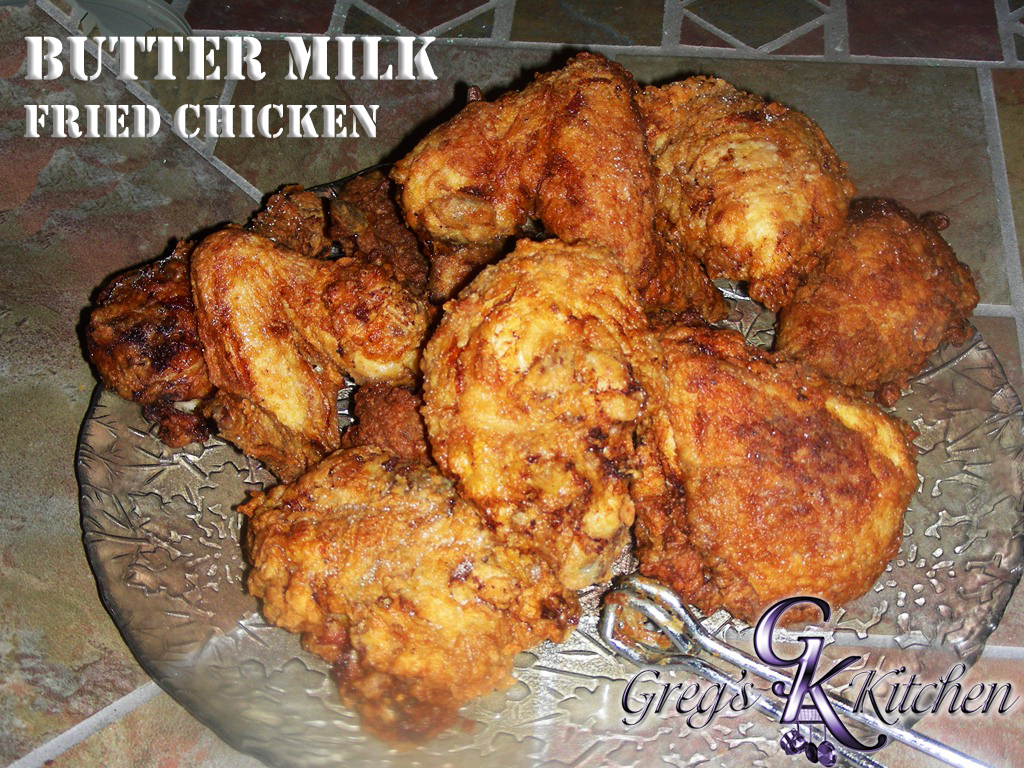
Bacon aside, there are few things I love more than fried chicken. What can possibly be more soul satisfying than a moist flavorful piece of chicken encased in a thick, crunchy crust? Not much, I say.
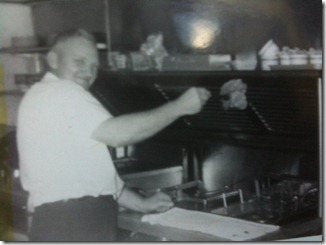
You don’t know how great it felt growing up, or maybe you do, walking into grandma’s kitchen and smelling that fried chicken. There was nothing like it. And I am not talking the store bought chicken, I am talking about chicken that a few hours earlier was clucking around the barn yard. Believe it or not, my grandpa Norm also made some of the best fried chicken too. He used to have a diner in downtown Wapakoneta and that was one of his specialties. Below is a picture of him cooking up that delicious fried chicken.

Below is a picture of grandma Jean lending a hand on the fried chicken in the restaurant.
And then this is me, maybe I am waiting on that fried chicken, at the counter wearing grandpa Norms hat. I love all these old pictures. They are treasures to me.
To make my ultimate fried chicken, I’ve employed a few tricks that I’ve learned over the years. The first is to brine the chicken. This is a must for any roast chicken, and it works equally well in fried applications. The fundamentals of brining are simple, you’re soaking the chicken in a salt and sugar solution that flavors the meat, much like a marinade would, while increasing the chicken’s moisture content. For my fried chicken, I decided to use buttermilk instead of water, and I stuffed it full of aromatics such as onion juice, garlic, celery seed and rosemary. After a 2-3 hour soaking in the buttermilk brine, the chicken is literally bursting with flavor, from the inside out.
Satisfied that I’d given the chicken the love and flavor that it needed, I moved onto the skin. There’s much debate over how to get a nice crunchy crust. I’ve found the double dredge gets a nice thick crinkled crust that stays crunchy long after the chicken has turned cold (not that there would ever be chicken left on the plate long enough to go cold). Since the brine is quite salty, I avoided adding a lot of salt to the flour, but that didn’t stop me from cramming in more flavor with spices like onion powder, paprika and more celery seed.
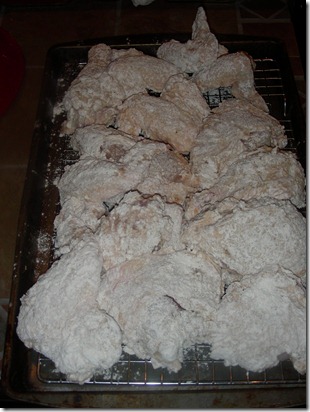

I won’t lie to you, this is a rather involved recipe that takes some time, but it’s not impossible to make on a work night if you put the chicken in the brine the night before. I like serving this with fluffy biscuits and plenty of honey to drizzle on both the biscuits and chicken.
Enjoy
BRINE
- 4 cups buttermilk
- 1 small onion, thinly sliced
- 4 cloves garlic, smashed with the flat side of a knife
- 1 teaspoon vegetable oil
- 3 tablespoons kosher salt
- 4 tablespoons sugar
CHICKEN
- 8 chicken legs, drumsticks and thighs separated
- 8 chicken wings, wing tips removed
- 3 cups all-purpose flour
- 3 tablespoons freshly ground black pepper
- 2 tablespoons smoked paprika
- 2 tablespoons sea salt
- 2 teaspoons cayenne pepper
- 2 tablespoons baking powder
- 2 cups of the buttermilk marinade
- 1/3 cup hot sauce (for flavor, not heat)
In a large bowl, combine all marinade ingredients and mix together. Pour into large zip top bag and then add all the chicken pieces. Set the bag in a large bowl, seal the bag so that you remove as much air as possible and the chicken is submerged in the brine. Refrigerate for at least 3-4 hours, agitating the bag occasionally to redistribute the brine and the chicken.
Remove the chicken from the buttermilk brine (reserve the brine), rinse under cold water, pat dry, and set on a rack to dry.
Now combine the dry ingredients for the chicken in a bowl. Whisk around to distribute the ingredients throughout. Now divide this mixture between two bowls large enough for the mixture and chicken pieces. Pour the buttermilk marinade into a third bowl and add hot sauce, mix well.
Set a cooling rack on a baking sheet.
Begin by dredge the chicken in the seasoned flour, shake off the excess, and set on the cooling rack. Once all pieces are coated, dip the pieces in the buttermilk, then dredge them in the second bowl of seasoned flour aggressively and return them to the rack.
Heat the oil in a large, high-sided dutch oven to 350°F. Add 3-4 pieces of chicken at a time so your not crowding the pan. Cook the chicken, rotating the pieces occasionally, until they are golden brown and cooked through, 12 to 15 minutes depending on their size. Remember that the white meat takes a bit longer to cook than the dark meat.
Remove to a clean rack and allow them to rest for 5 to 10 minutes before serving.
![]()
![]()
![]()
![]()
![]()










Be the first to comment